
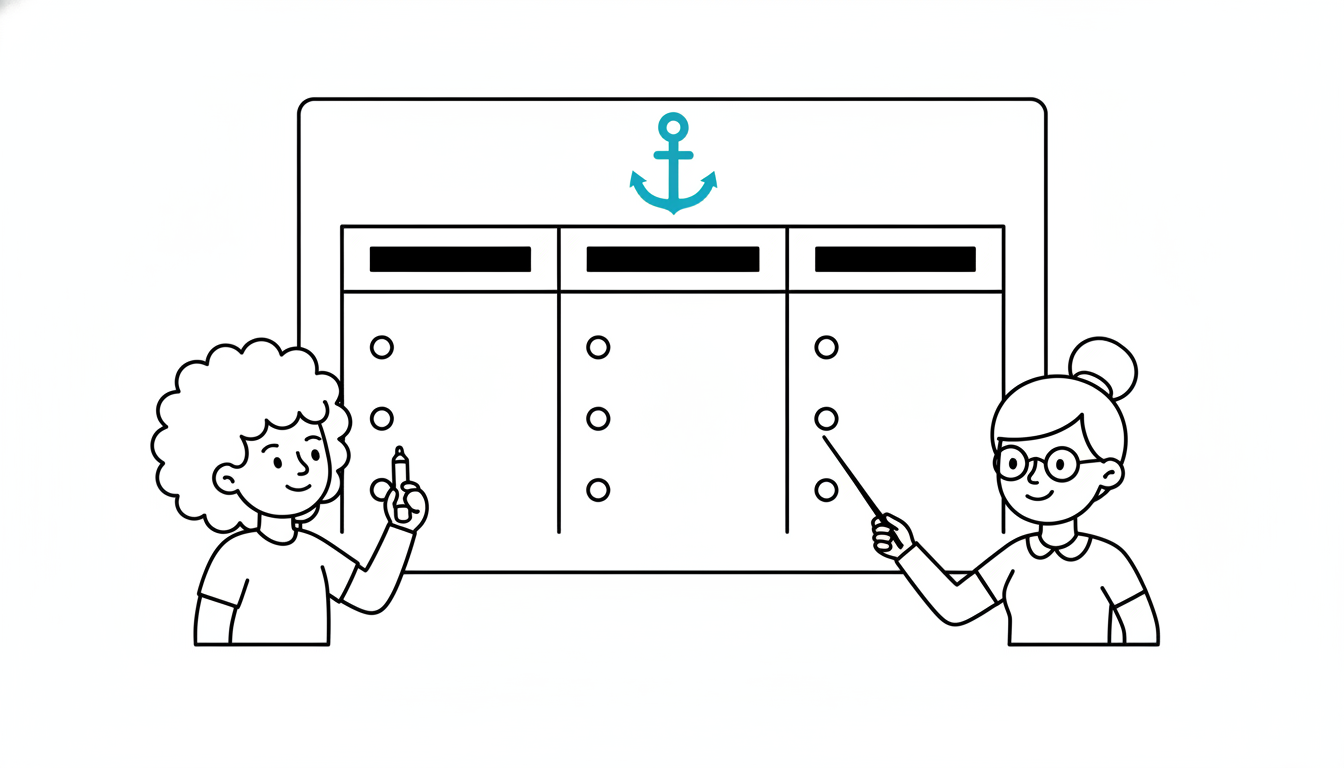
Anchor Chart
At a Glance
- Time: 3-5 minutes (initial creation); ongoing reference
- Prep: Chart paper or board space
- Group: Whole class
- Setting: Any
- Subjects: Universal
- Energy: Low
Purpose
Create a visual reference tool that activates prior knowledge initially and serves as an ongoing resource throughout the unit. Anchor charts make thinking visible, organize information, and provide a concrete reference point students can return to repeatedly.
How It Works
- INTRODUCE TOPIC (30 seconds) - "We're learning about [topic]. Let's create an anchor chart."
- CO-CREATE (2-4 minutes) - Students contribute what they know; teacher records on chart
- DISPLAY (ongoing) - Keep chart visible throughout the unit
- ADD/REVISE (optional) - Return to chart periodically to add new learning
What to Say
"We're starting our unit on [topic]. Let's create an anchor chart that we'll use all week/month. This chart will hold our collective knowledge. What do we already know about [topic]? I'll write your ideas here."
(As students contribute, organize responses on chart with headings, bullets, or sections)
"Great! This is our starting point. We'll keep this chart posted. As we learn more, we can add to it or revise our thinking. This is your reference tool—use it!"
Example Anchor Chart Structures:
Topic: Fractions
- What are fractions? (definitions)
- Types of fractions (proper, improper, mixed)
- Operations (how to add, subtract, etc.)
- Real-world examples
Topic: Photosynthesis
- What? (process definition)
- Where? (location in plant)
- Why? (purpose/importance)
- How? (steps in process)
Why It Works
Visual displays support memory by providing external storage. The co-creation process activates prior knowledge while building collective ownership. Keeping the chart visible allows ongoing reference, which reinforces learning. The chart grows with the unit, visually representing learning progress. Anchor charts explicitly communicate: "We build knowledge together, and our learning is always accessible."
Research Citation: Visual displays and reference tools support learning and memory (Marzano, 2003).
Teacher Tip
Use color, icons, and visual organization to make the chart engaging and easy to parse. Leave blank space so you can add to the chart as the unit progresses. Take a photo of finished charts for digital reference or future use!
Variations
Chart Structures
Simple List: Bulleted facts and ideas Categorized: Sections with headings (What? Where? When? Why? How?) Sequence: Steps in a process with arrows Comparison: T-chart or Venn diagram comparing concepts Visual: Include drawings, diagrams, or symbols
Creation Methods
Teacher-Scribed: Teacher writes as students contribute Student-Illustrated: Students come up and add drawings/examples Collaborative: Multiple students write on chart simultaneously Started by Teacher: Teacher provides structure; students fill in
Content Examples
Science: "Parts of a Cell" / "Steps in the Scientific Method" / "Layers of the Atmosphere" Math: "Strategies for Solving Word Problems" / "Properties of Shapes" Literature: "Elements of a Story" / "Literary Devices We've Learned" History: "Causes of the Civil War" / "Key Figures in the Renaissance" Writing: "Strong Verb Choices" / "Transition Words"
Ongoing Use
Add as You Learn: Return to chart after each lesson; add new information Color Code: Use different colors for prior knowledge vs. new learning Student Ownership: Students suggest additions or corrections Reference Tool: Explicitly direct students to use it: "Check the anchor chart!"
For Different Settings
- Large Class: Create on large chart paper or whiteboard section
- Small Class: Can be smaller; everyone contributes
- Online: Digital anchor chart using Jamboard, Google Slides, or Padlet
- Individual: Students create personal mini-anchor charts in notebooks
For Different Ages
- Elementary (K-5): Heavy use of visuals, color, simple language
- Middle/High School (6-12): More text, complex organization
- College/Adult: Can be more sophisticated, discipline-specific vocabulary
Online Adaptation
Good for Online:
- Use Jamboard, Google Slides, or Padlet
- Students contribute via chat; teacher adds to digital chart
- Screenshot and share chart in LMS
- Can be more challenging than in-person but doable
Troubleshooting
Challenge: Chart becomes too crowded and messy. Solution: That's okay! Authentic learning is messy. Or create a "Version 2" chart later that's more organized.
Challenge: Students don't reference the chart after initial creation. Solution: Explicitly direct them: "Before you ask me, check the anchor chart!" Make using it part of the routine.
Challenge: Chart has incorrect information. Solution: Add a "Myths" or "Common Misconceptions" section. Or cross out and correct as you learn.
Challenge: Running out of wall space. Solution: Take photos of completed charts; post digitally. Or rotate charts in/out based on current unit.
Challenge: Students copy from chart during assessments. Solution: That's the point! Anchor charts are support tools, not cheating. If assessment integrity is critical, cover the chart during tests.
Extension Ideas
- Before/After Photos: Take pictures of the chart at the beginning and end of the unit
- Student-Created: Groups create their own anchor charts on sub-topics, then share
- Digital Version: Transfer chart to Google Slides or Canva for broader access
- Exit Ticket: "What should we add to our anchor chart tomorrow?"
- Gallery Walk: Multiple anchor charts around the room; students add sticky notes with additions
Related Activities: Brainstorm Web, KWL Chart, Word Splash